How to Reactivate Windows 10 After a Major Hardware Change
Reader Question:
“Hi Wally, I recently had to get my laptop fixed after it stopped turning on. I was told that the motherboard was changed. Anyways, since then the laptop started working normally again but Windows 10 is showing me this error saying that I need to activate it. I haven’t reinstalled Windows (although I’m told that it should be working normally even if i did). I’m not sure what I need to do anymore. Any ideas? Thanks” – Lisa D., Canada
Before addressing any computer issue, I always recommend scanning and repairing any underlying problems affecting your PC health and performance:
- Step 1 : Download PC Repair & Optimizer Tool (WinThruster for Win 10, 8, 7, Vista, XP and 2000 – Microsoft Gold Certified).
- Step 2 : Click “Start Scan” to find Windows registry issues that could be causing PC problems.
- Step 3 : Click “Repair All” to fix all issues.
Setting up weekly (or daily) automatic scans will help prevent system problems and keep your PC running fast and trouble-free.
Wally’s Answer: There is nothing to worry about. Windows 10 identifies computers based on their hardware. But, if we change a major component like the motherboard then Windows can no longer identify the computer and therefore show this error. Thankfully fixing it is not that difficult to reactivate Windows.
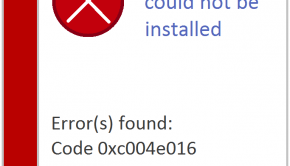
Problem
Windows will no longer find a license that matches your device.
Cause
Ever since Windows 8 Microsoft implemented a method for activating Windows by storing the windows key in the computer’s UEFI.
This was implemented to prevent users from installing one copy of Windows 10 on multiple computers.
Thus replacing the motherboard can cause this problem to occur on pre-built computers.
Solution
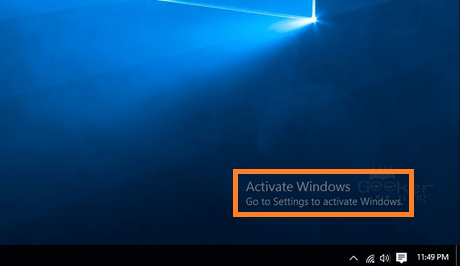
You’ll need to reactivate Windows to get it up and running without the annoying activation error.
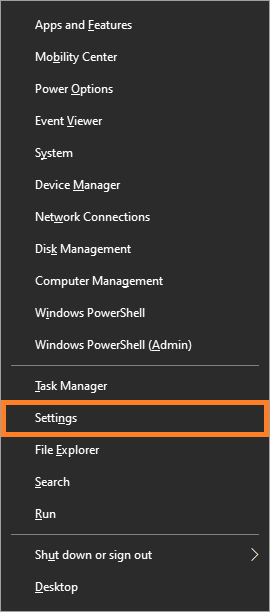
Press the Windows Key+X and click Settings from the pop-up menu.
Click Update and Security to open it.
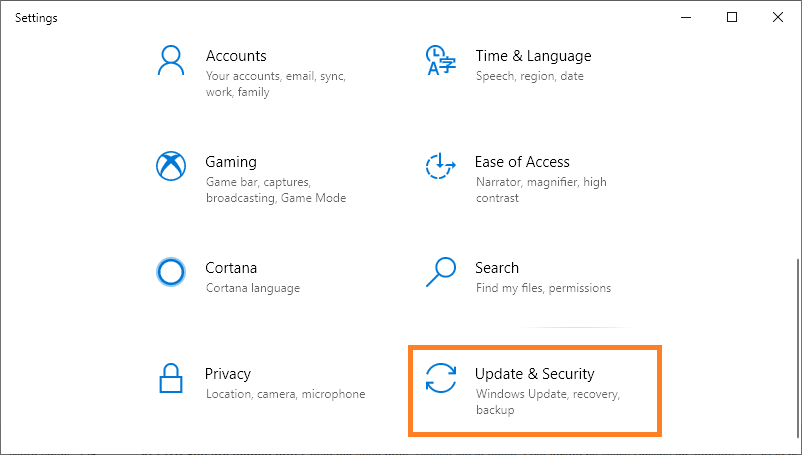
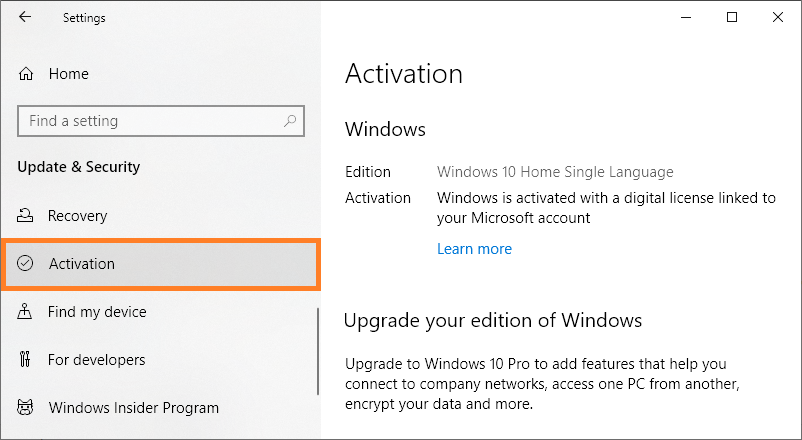
Click Activation as shown in the image below.
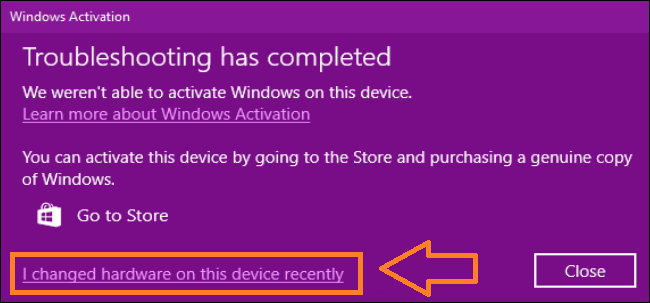
On your computer, you should see a Troubleshoot link that looks like the image below. Please click it and let it work for a bit.

Eventually, the troubleshooter will show a results page that says “Troubleshooting has completed”.
Click the link labeled I changed hardware on this device recently as shown below.
Sign in to your Microsoft account and follow the steps to reactivate windows on your computer. And, you’re done. Good Job!
I Hope You Liked This Blog Article! If You Need Additional Support on This Issue Then Please Don’t Hesitate To Contact Me On Facebook.
Is Your PC Healthy?
I always recommend to my readers to regularly use a trusted registry cleaner and optimizer such as WinThruster or CCleaner. Many problems that you encounter can be attributed to a corrupt and bloated registry.
Happy Computing! ![]()

Wally's Answer Rating
Summary: Every Windows Wally blog post is evaluated on these three criteria. The average of all three elements determines an "Overall Rating" for each blog post.
4.6
Overall Rating
About the Author
Wally PhillipsWindows Wally is a helpful guy. It’s just in his nature. It’s why he started a blog in the first place. He heard over and over how hard it was to find simple, plain-English solutions to Windows troubleshooting problems on the Internet. Enter: Windows Wally. Ask away, and he will answer.
Related Posts
How To Fix Error 0x8007232B When Activating Windows 10? →