The Windows 10 Start Menu Is Not Working !
Reader Question:
“Hi Wally, The Windows 10 Start Menu stopped working. It is not responding when I press the Start logo button. This started happening after a few updates were installed.” – Brittany S., USA
Before addressing any computer issue, I always recommend scanning and repairing any underlying problems affecting your PC health and performance:
- Step 1 : Download PC Repair & Optimizer Tool (WinThruster for Win 10, 8, 7, Vista, XP and 2000 – Microsoft Gold Certified).
- Step 2 : Click “Start Scan” to find Windows registry issues that could be causing PC problems.
- Step 3 : Click “Repair All” to fix all issues.
Setting up weekly (or daily) automatic scans will help prevent system problems and keep your PC running fast and trouble-free.
Wally’s Answer: Windows 10 has seen a phenomenal adoption rate at 75 Million activations in a month according to Microsoft. With all these computers running Windows 10, there are bound to be some cases where things didn’t go as expected from the get-go. Here we will look at problems with the Windows 10 Start Menu.
Problem
The Windows 10 Start Menu isn’t working.
Solution
Here are some ways to fix it:
Check For This Update In Particular
Installing this update in Windows 10 will probably solve the Windows 10 start menu problem for you. The KB 3081424 update is required to fix this problem. You can get this update from Windows Update.
Start Windows Update in Windows 10 and install all available updates.
Use The PowerShell Command
Doing this will reinstall all Metro/Modern Apps, so make sure any data in them is backed up.
- Press Windows Key + R > type powershell > press Enter
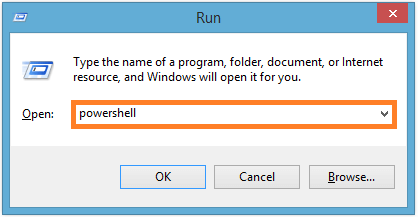
- You should see the Powershell window.
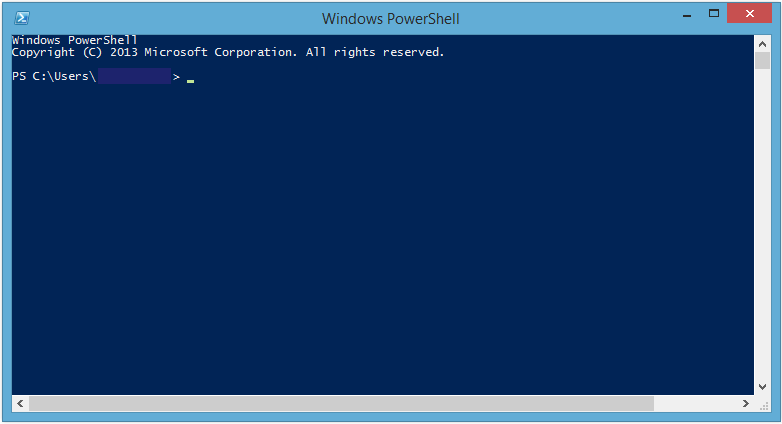
- Start PowerShell as Administrator. You can do this by Right-clicking the PowerShell icon on the taskbar and click Run as Administrator.
- Copy the following command and Right-Click the Powershell Window. The command should get pasted into the Window:
Get-AppXPackage -AllUsers | Foreach {Add-AppxPackage -DisableDevelopmentMode -Register “$($_.InstallLocation)\AppXManifest.xml”} - Press Enter to execute the commands.
- If a few errors appear in Red then ignore them.
- Restart the computer.
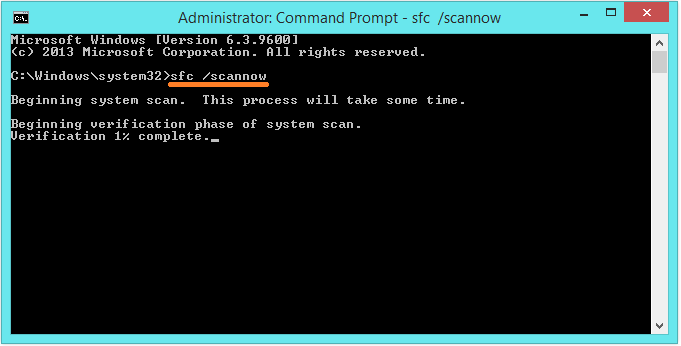
Use The SFC Command To Fix Missing Or Corrupt System Files
- Press the Windows Key > type cmd
- Right-click Command Prompt > Click Run as administrator
- In the Command Prompt window, type sfc /scannow > Press Enter
I Hope You Liked This Blog Article! If You Need Additional Support on This Issue Then Please Don’t Hesitate To Contact Me On Facebook.
Is Your PC Healthy?
I always recommend to my readers to regularly use a trusted registry cleaner and optimizer such as WinThruster or CCleaner. Many problems that you encounter can be attributed to a corrupt and bloated registry.
Happy Computing! ![]()

Wally's Answer Rating
Summary: Every Windows Wally blog post is evaluated on these three criteria. The average of all three elements determines an "Overall Rating" for each blog post.
4.3
Overall Rating
About the Author
Wally PhillipsWindows Wally is a helpful guy. It’s just in his nature. It’s why he started a blog in the first place. He heard over and over how hard it was to find simple, plain-English solutions to Windows troubleshooting problems on the Internet. Enter: Windows Wally. Ask away, and he will answer.
Related Posts
Cannot Accept License Agreement While Trying To Reset Windows Update →

How To Fix Nvidia Video_Memory_Management_Internal Error In Windows 10? →
How To Fix Error 0xc000021a In Windows 10? →